Author: John Kendrick
Back in the dark ages when I first started relic hunting if we had a detector that was good enough to detect a firebox we basically opened it up a little, saw all those rusty ration cans and nails, closed it right up and went on. 99% of the relic hunters in those days had no idea what a Civil War hut might contain and was only interested in recovering belt plates which we could turn into instant cash. $5 to $10 for a US belt plate. I sold my first complete Two Piece CS for $135! That was about a week and a half pay back then and doggone near a mortgage payment!
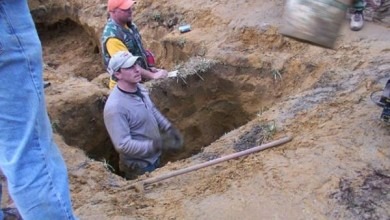
Fast forward to 2002. I was attending my first “organized” relic hunt and witnessed a close friend named Jim Dews using a steel rod to push deep into the ground. Jim is an experienced privy digger and seemed to know what he was doing. I watched for awhile and since I was what they called a “Hunt Master” I had other duties to take care of and left him to his labors. A couple hours later I returned and Jim had a hole big and deep enough to easily bury the ATV I was riding! Around that hole he had a pile of broken glass, iron “junk” of all descriptions, several VERY interesting green glass and porcelain bottles and a couple US belt plates. I couldn’t believe my eyes!!! Needless to say I was totally hooked for life. I would never be the same.
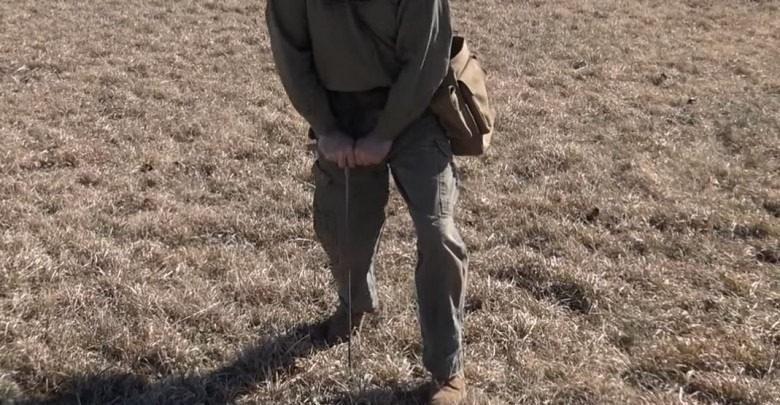
Just how do you probe? First a little about the probe itself.The ideal length of spring steel (it must be spring steel, accept no substitutes) is about 4 feet. (privy diggers like them lots longer) It shouldn’t be over 5/16″ in diameter and needs a “bulge” welded on the very end to aid in extracting and also to pull back a little sample of what lies beneath. The handle should be 12 to 18″ in length welded to the rod. You don’t want any rubber grips as they will deaden the feel. When I was making probes I called them Singing Probes because they acted like big tuning forks and transmitted the sound and feel back to the hollow handle.
Probing is hard work! I prefer to find a likely hut by first detecting the deep iron. After determining it is in fact a hut or trash pit I then take my probe and branch out probing all around until I “feel” or “hear” something different. The idea here is to try and establish a row or group of huts/trash pits. Some huts have a hard packed floor which can be easily felt. Sometimes you will feel the crunch of ash and charcoal or the squeak of glass. Sometimes you will feel what seems to be very soft ground beneath the surface. Sometimes you will feel a concentration of rocks if the area has few large rocks. It’s all about the FEEL! Also check your probe bulge on the end for ash, brick or anything out of the ordinary clinging to it. When you have probed a promising area stop and dig a test hole. You have to get below the plow zone (usually 12 to 14 ” but not always) in order to see if the subsoil has been disturbed and that is a whole other skill set to learn. Sometimes you are lucky and the subsoil will be littered with relics but usually you have to “read” the soil and go deeper.
I am asked constantly how to probe. It is really tough to explain so I hope this helps a little. It requires experience and hard work. You have to dig a lot of test holes. Give it a shot….it can be VERY rewarding!
Prior to DIV there were VERY few relic hunters who dug hut/trash pits. Those that did didn’t talk about it much. Now it’s what folks do and its what produces relics in hard hunted Civil War winter camps.