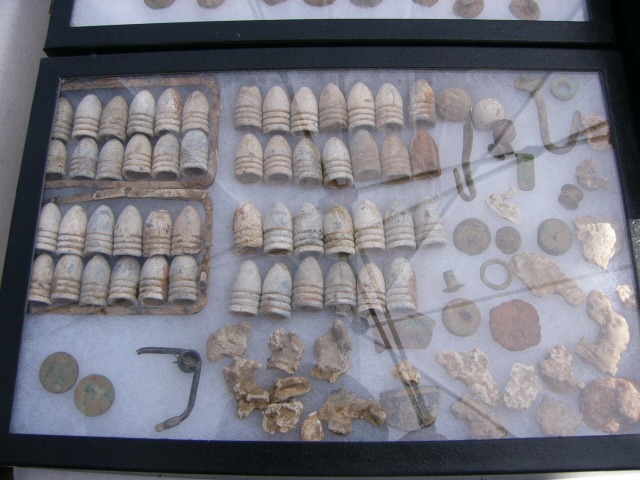
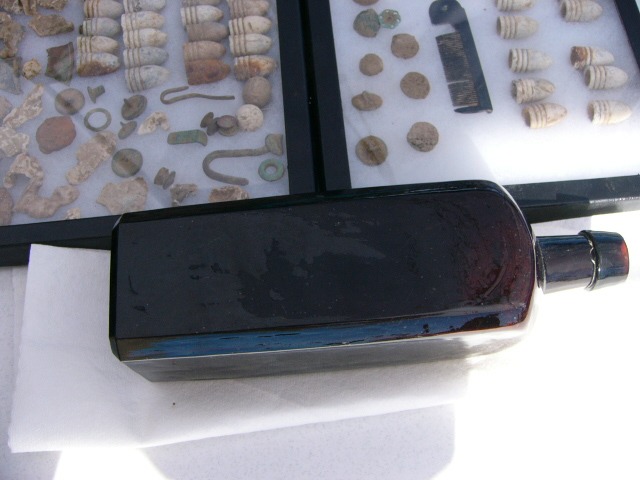
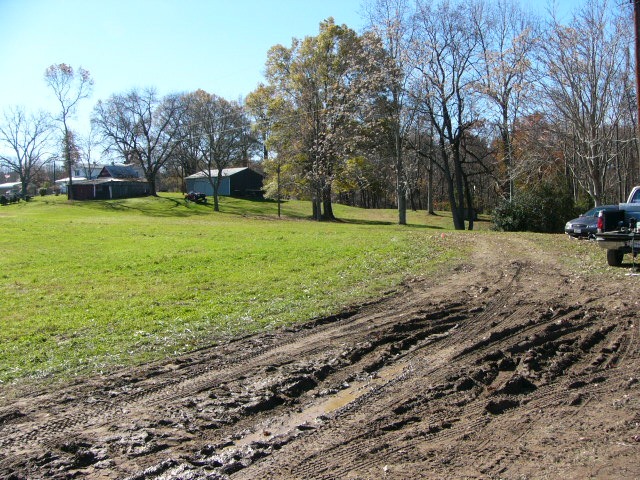
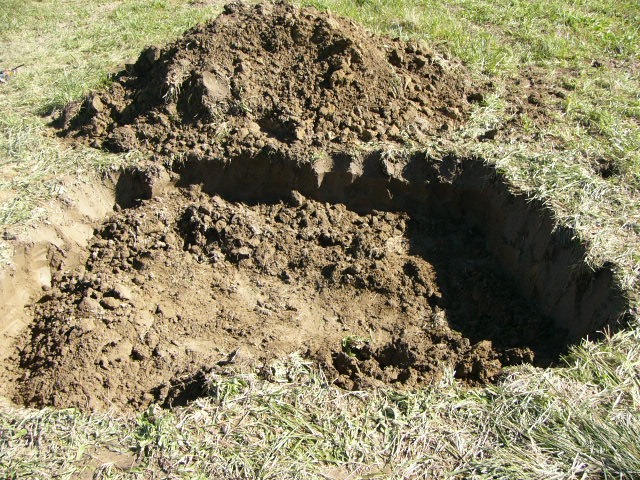
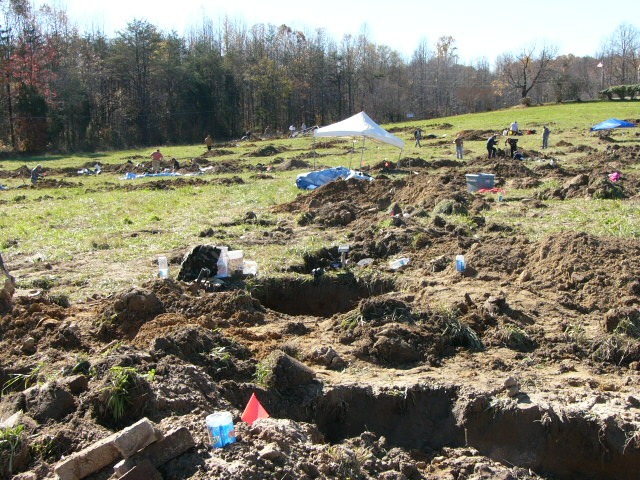
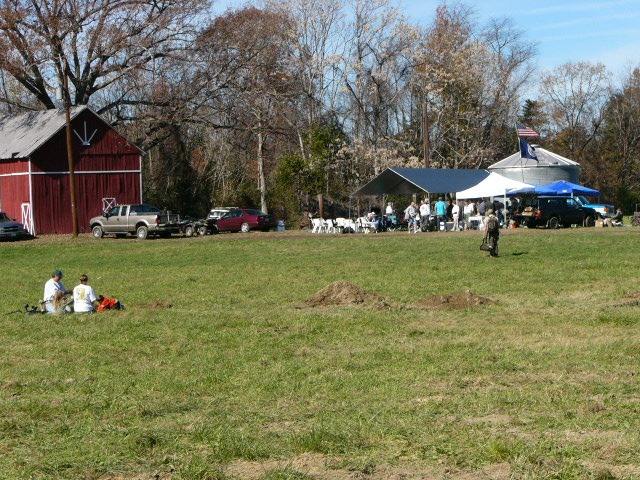
Home/Photo Gallery Photo Gallery This section contains some shortcodes that requries the Jannah Extinsions Plugin. Install it from the Theme Menu > Install Plugins.DIV II Stonemans Switch DIV II [divider style=”dashed” top=”5″ bottom=”5″] Next Gallery: DIV III Stonemans Switch Previous page 1 2 3 4 5 6 7 8 9 10 11 12Next page