Photo Gallery
This section contains some shortcodes that requries the Jannah Extinsions Plugin. Install it from the Theme Menu > Install Plugins.
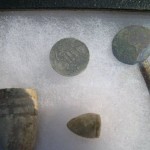
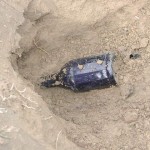
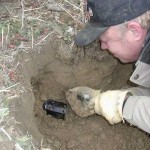
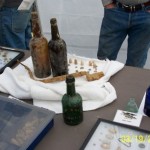
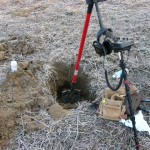
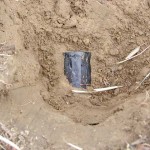
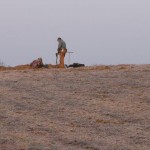
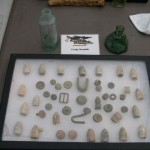
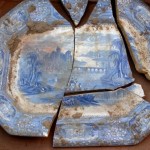
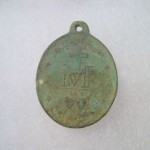
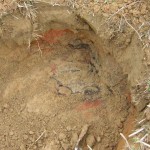
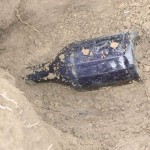
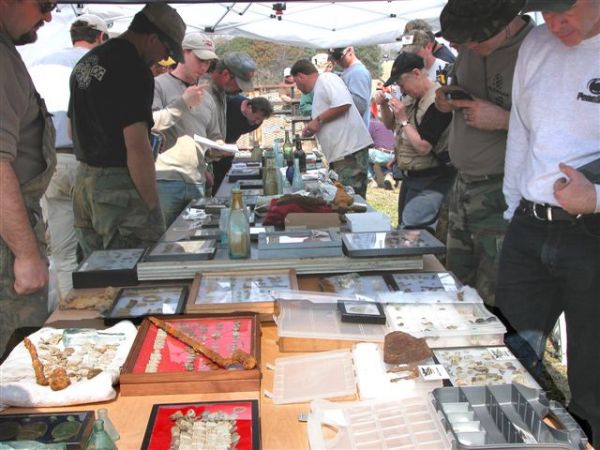
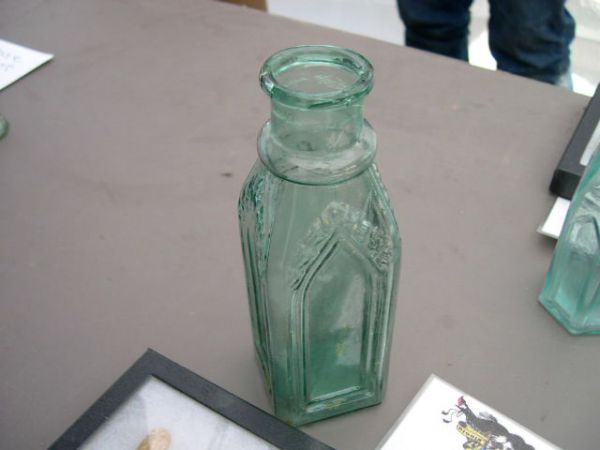
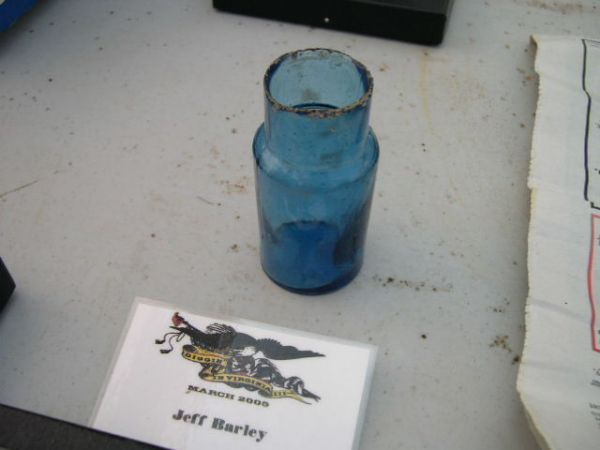
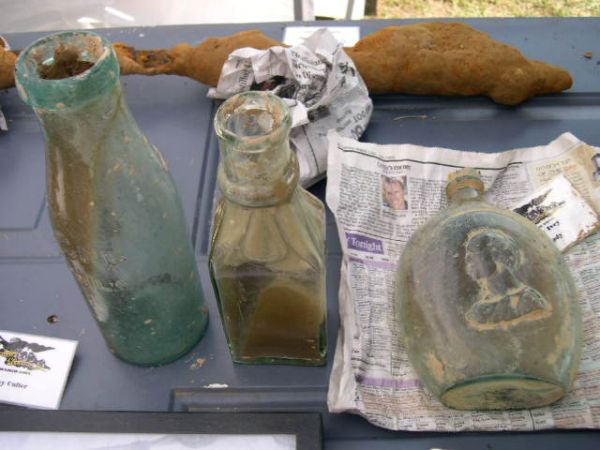
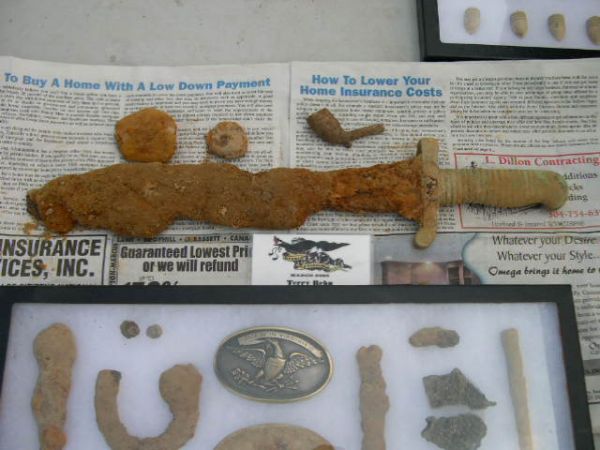
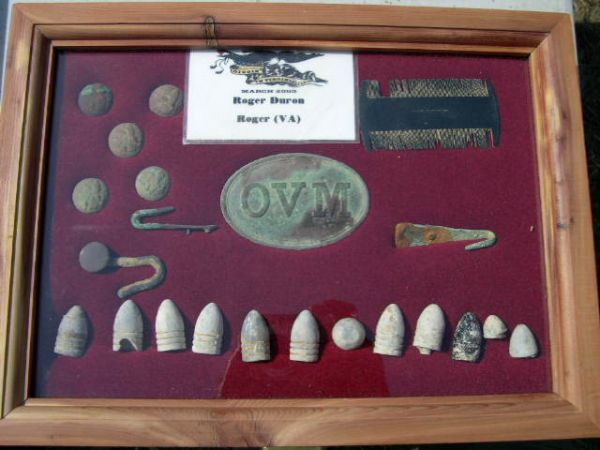
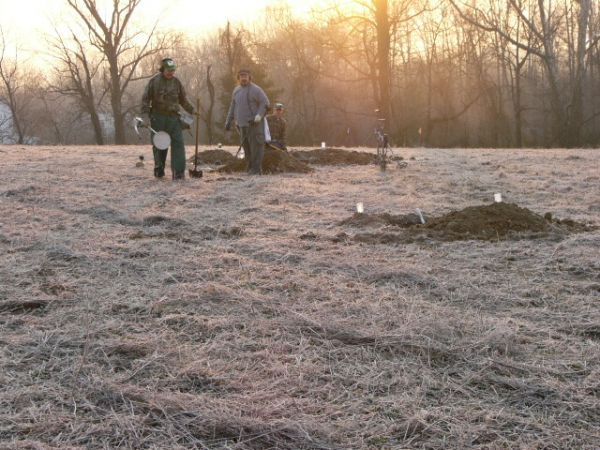
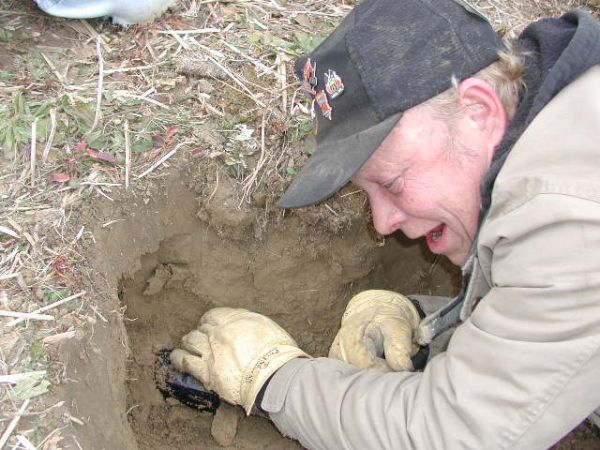
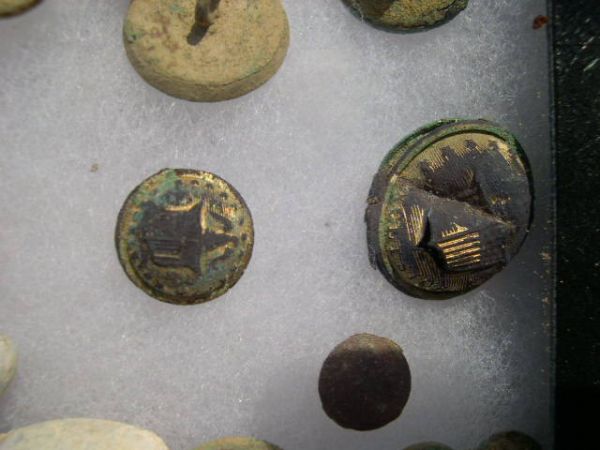
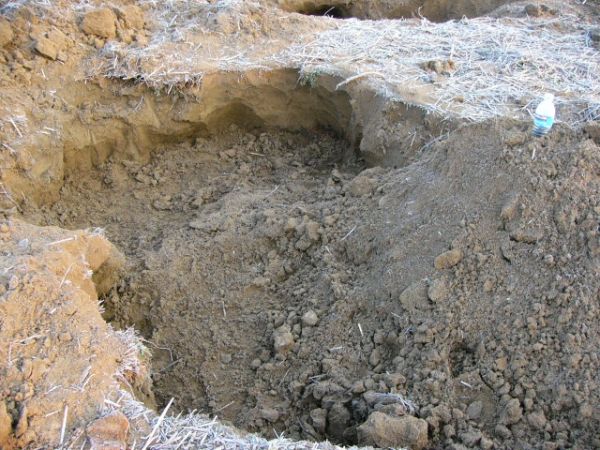
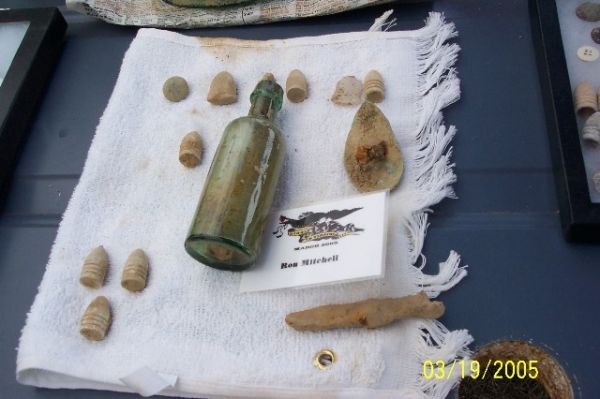
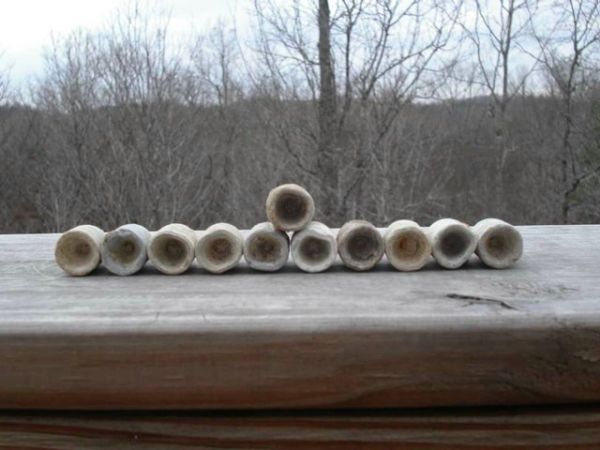
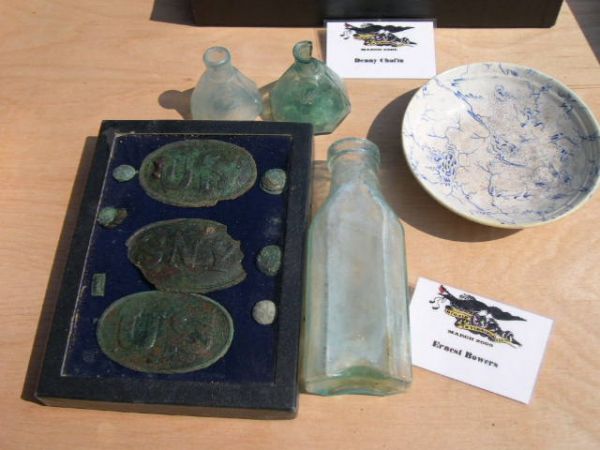
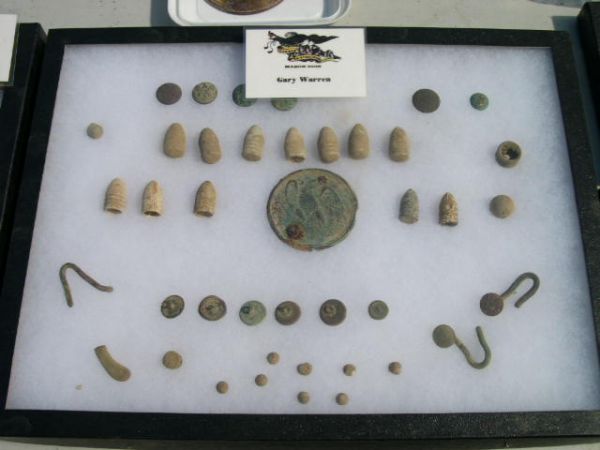
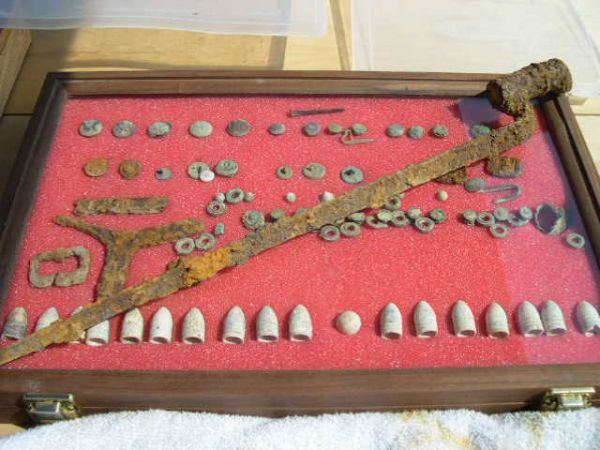
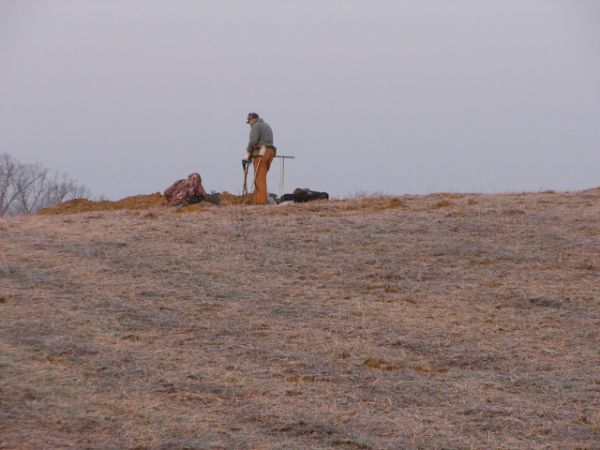
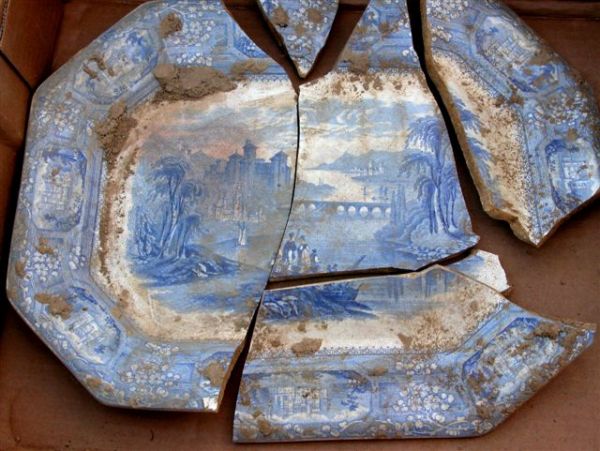
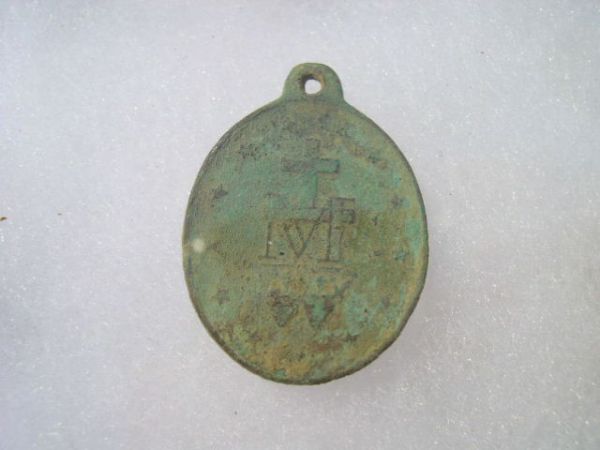
DIV III


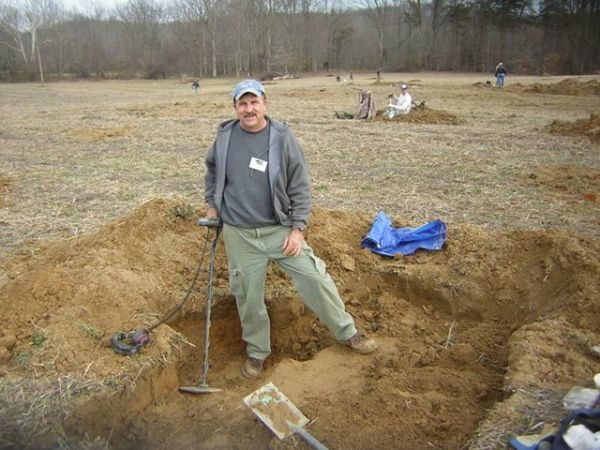
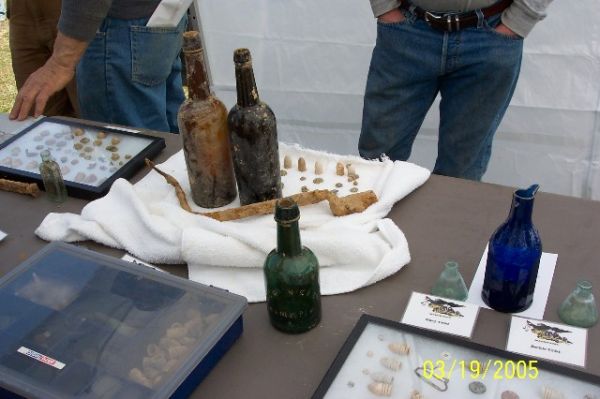
DIVIII

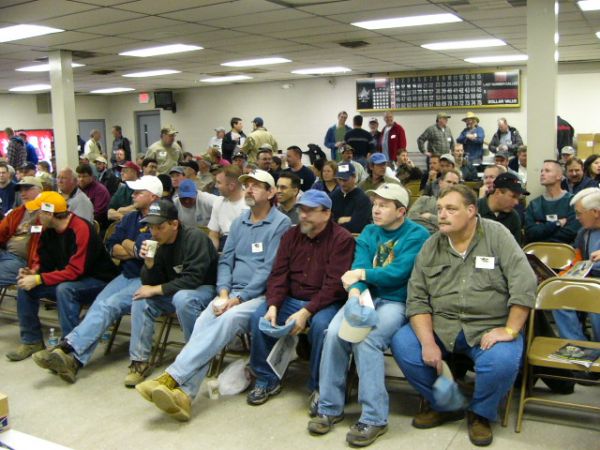
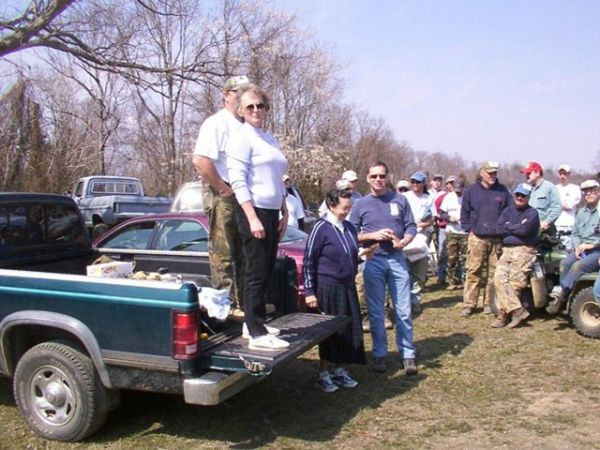
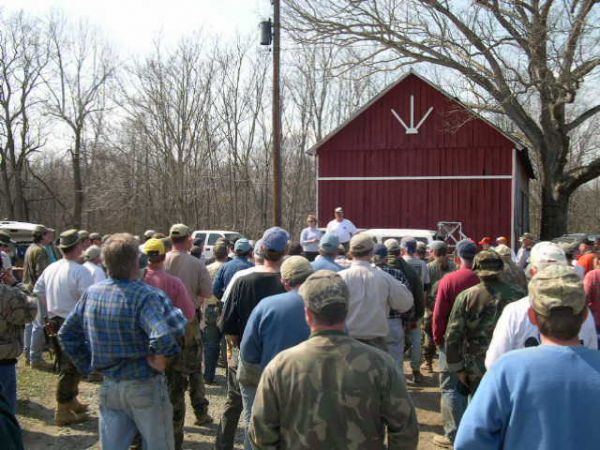
Meeting night
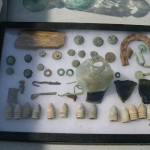
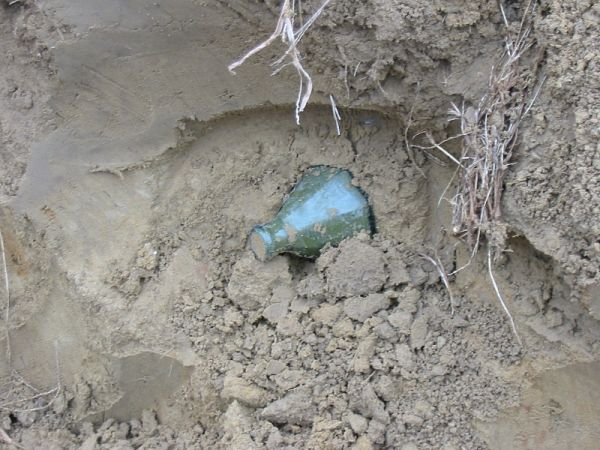
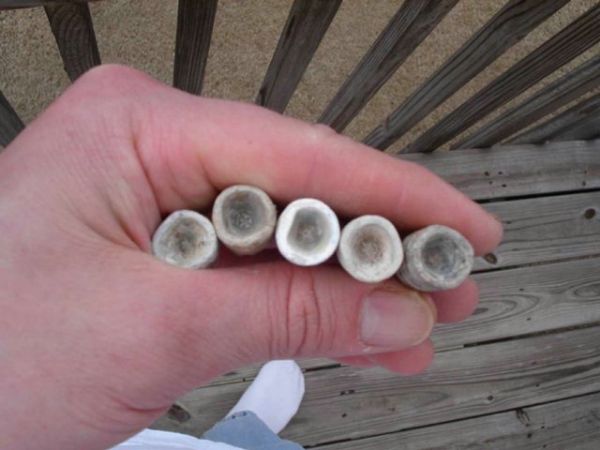
DIVIII
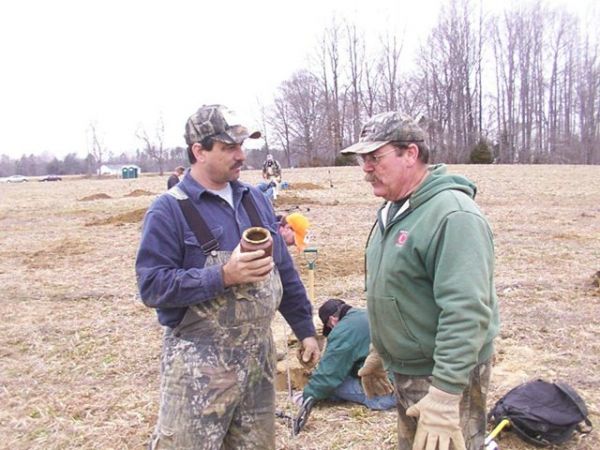
DIVIII
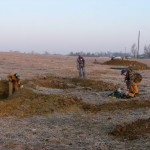
DIVIII
DIVIII
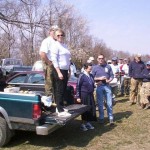
DIVIII
DIVIII
DIVIII
DIVIII
DIVIII
DIVIII

DIVIII
DIVIII

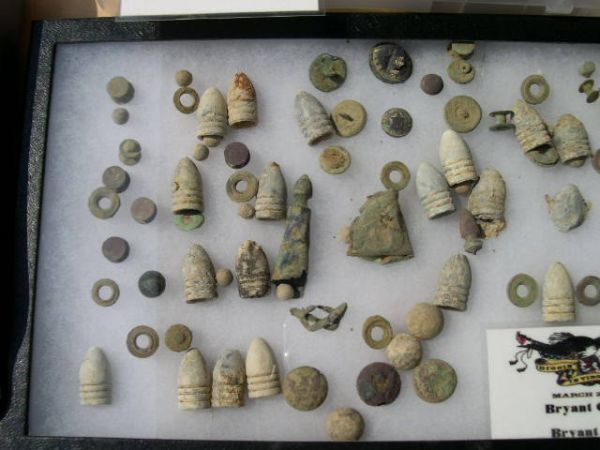
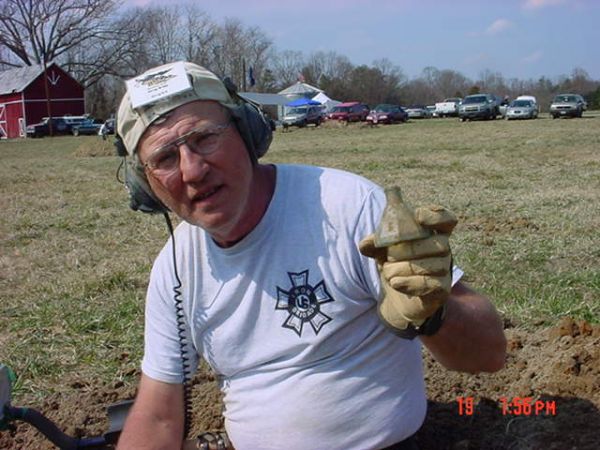
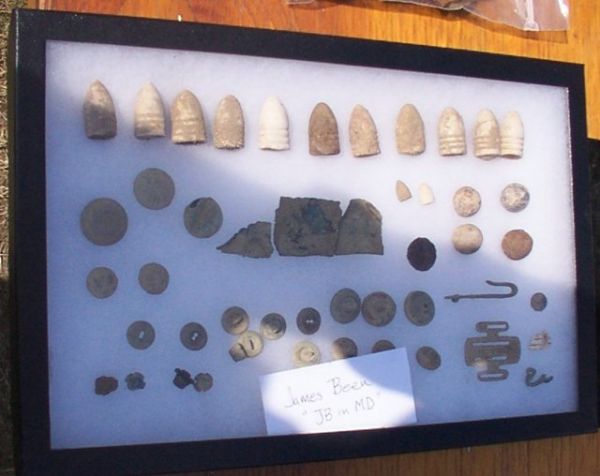
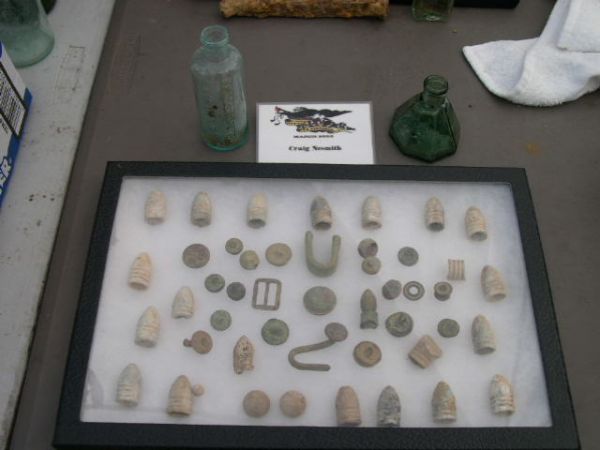
Chuck Acton

DIVIII

DIVIII
DIVIII
DIVIII
DIVIII
DIVIII
DIVIII


DIVIII

DIVIII

DIVIII
DIVIII
DIVIII
DIVIII
DIVIII
DIVIII

DIVIII
DIVIII
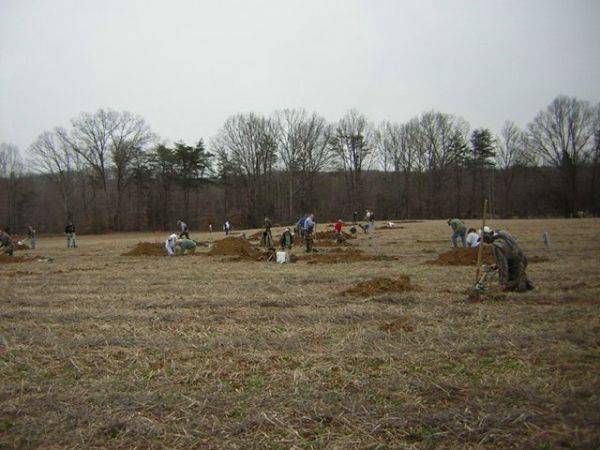
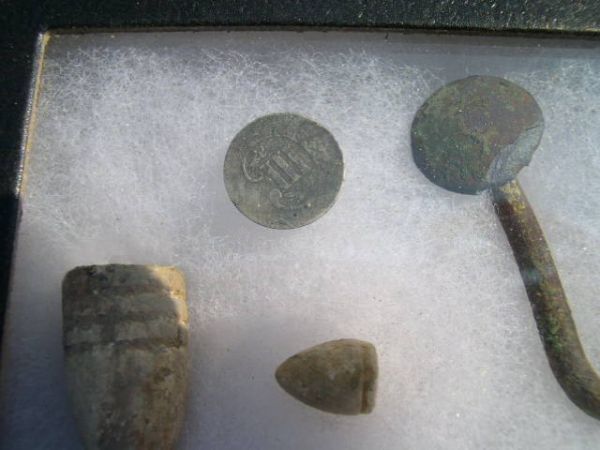
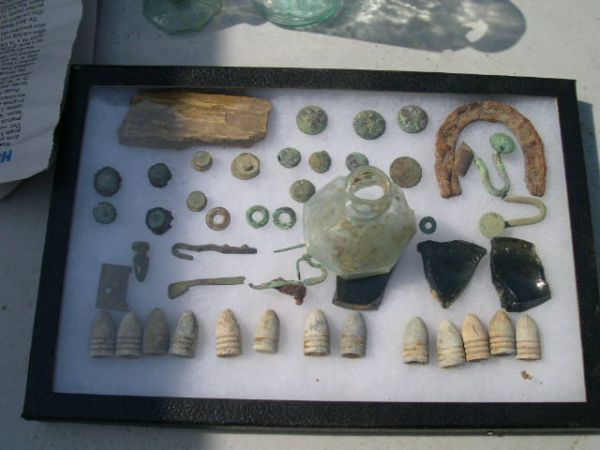
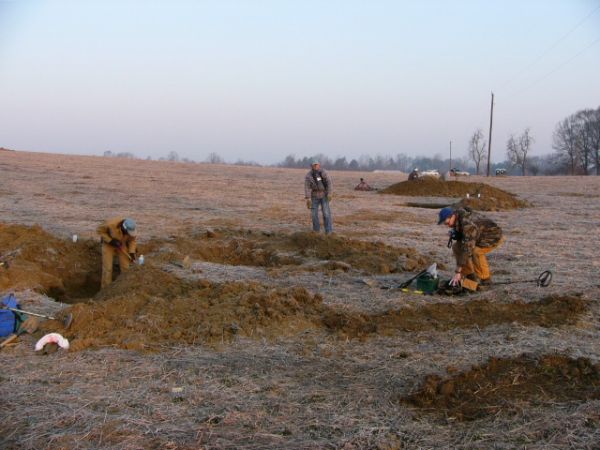
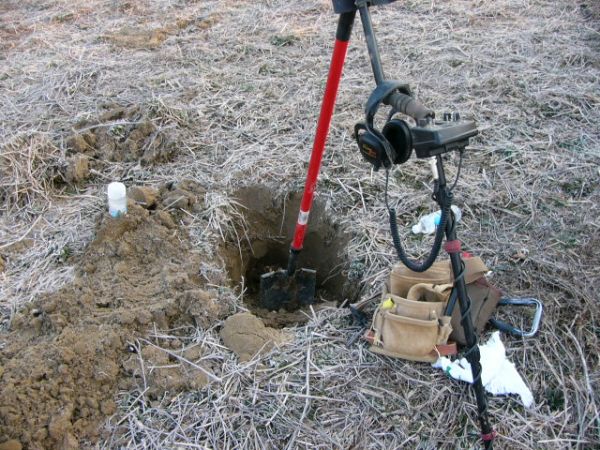
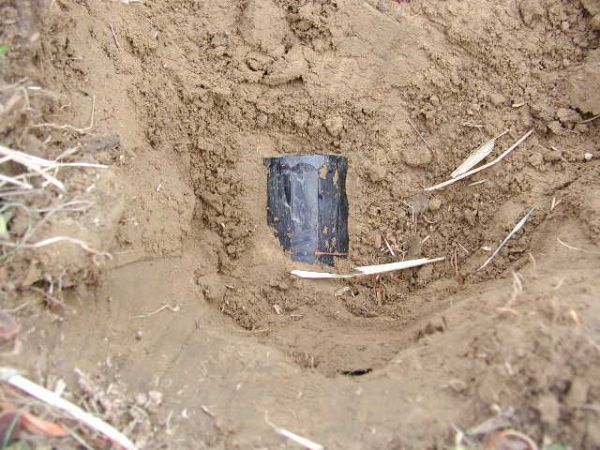
DIV III Stonemans Switch


[divider style=”dashed” top=”5″ bottom=”5″]
Next Gallery: DIV IV Stonemans Switch